


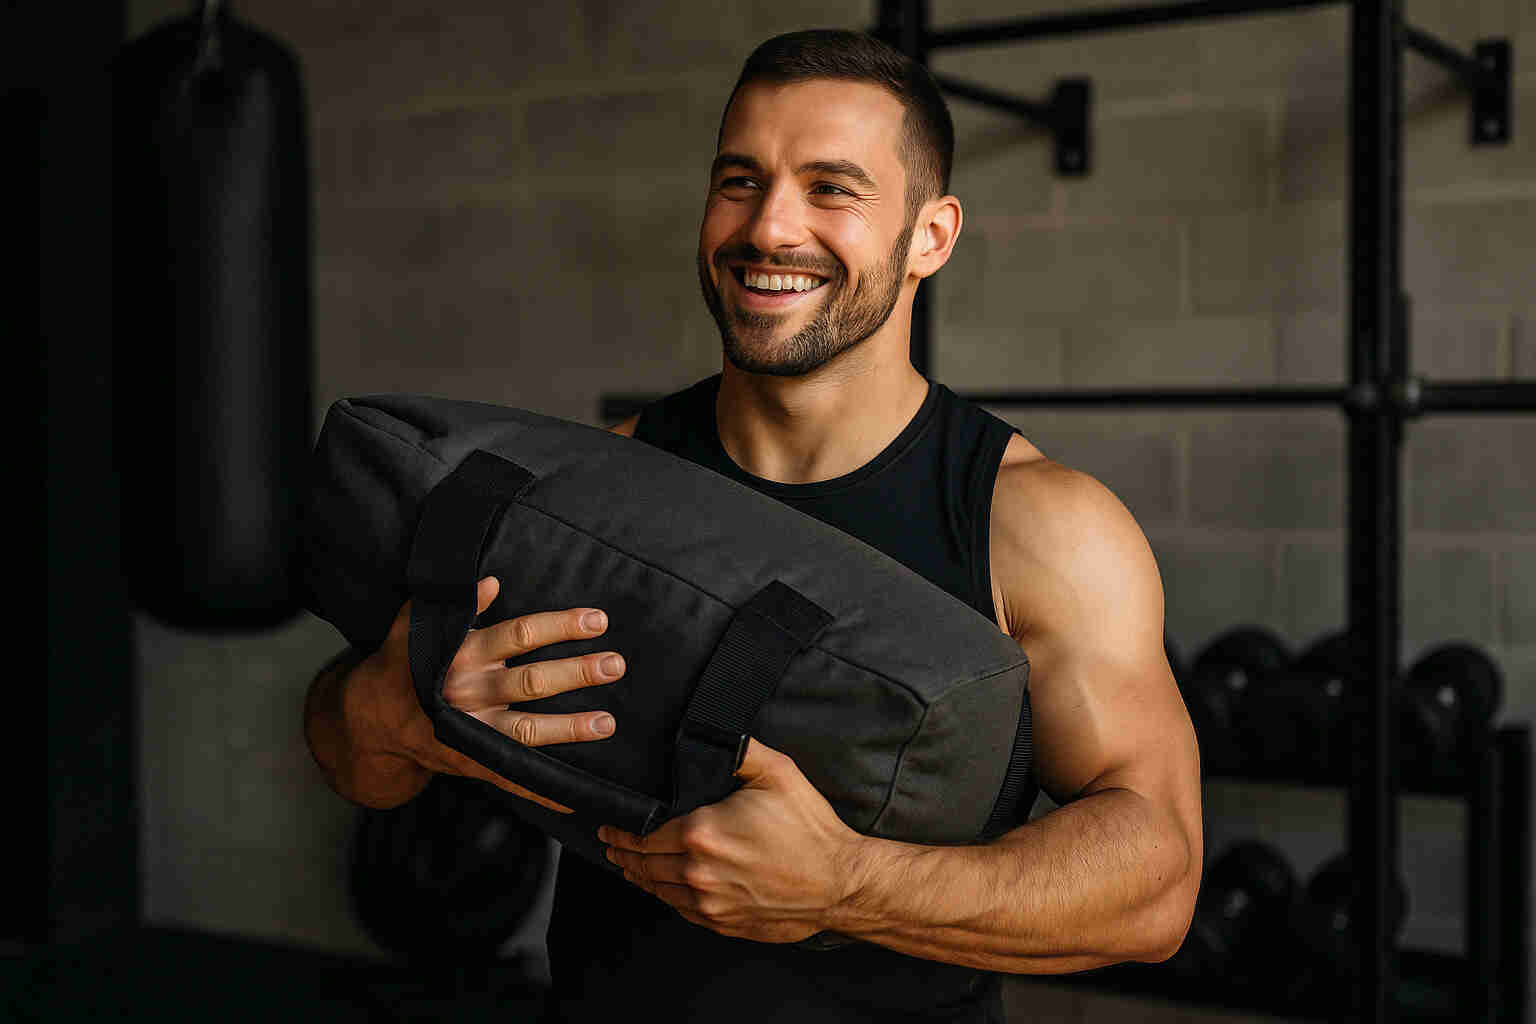
A durable sandbag is one of the most versatile and cost-effective tools you can add to your home gym. Following these simple instructions, you’ll craft a heavy-duty sandbag in about 1½ hours, customizing weight and dimensions to match your training goals.
Materials & Tools for DIY Sandbag
Materials
- Heavy-duty canvas or PVC bag (24″×14″)
- 2 mil plastic liner or contractor bag
- 80 lb of clean, dry play sand (bagged)
- Industrial-strength Velcro straps or cam-lock buckles
- Optional: filler such as rice or pea gravel for volume control
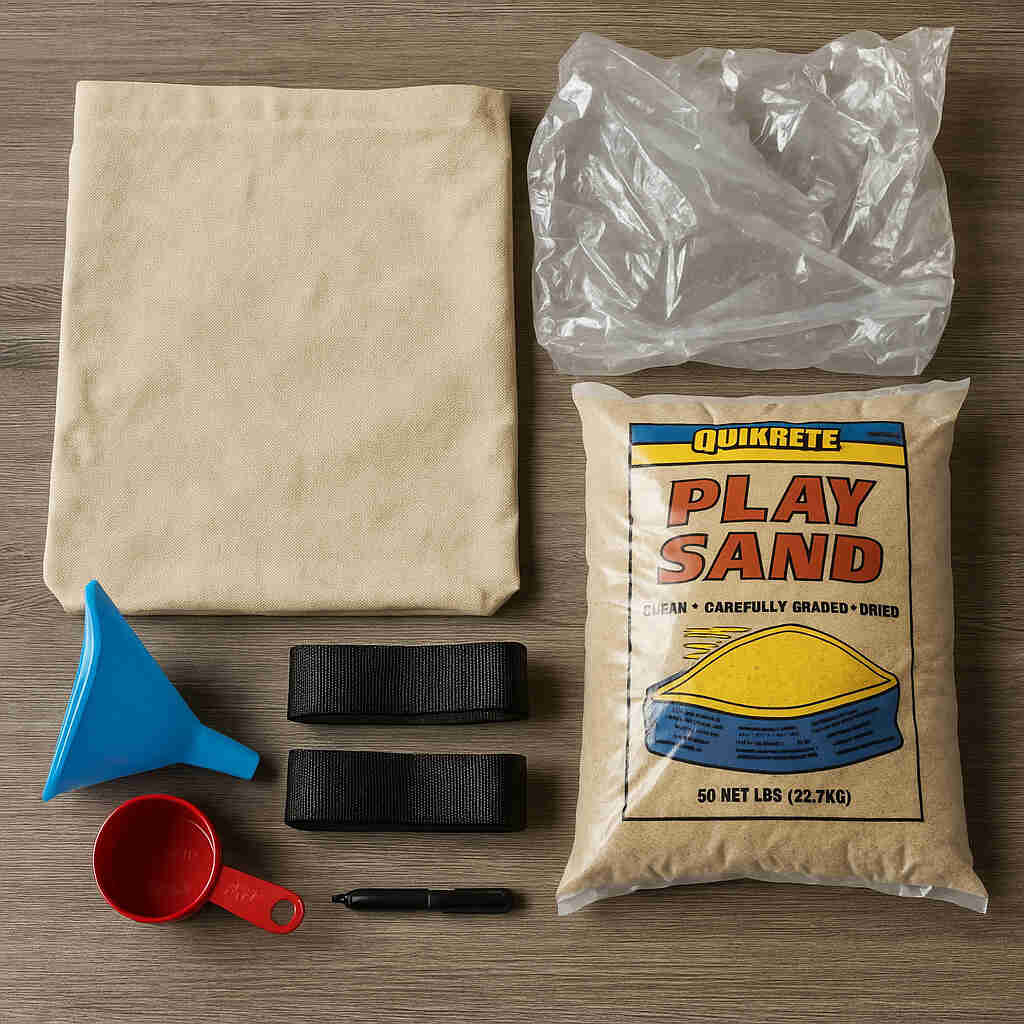
Tools
- Funnel or scoop
- Measuring cup (1 qt)
- Marker or chalk for lines
- Heavy-duty sewing needle & nylon thread (if bag isn’t pre-sealed)
Step-by-Step Instructions for Homemade Workout Sandbag
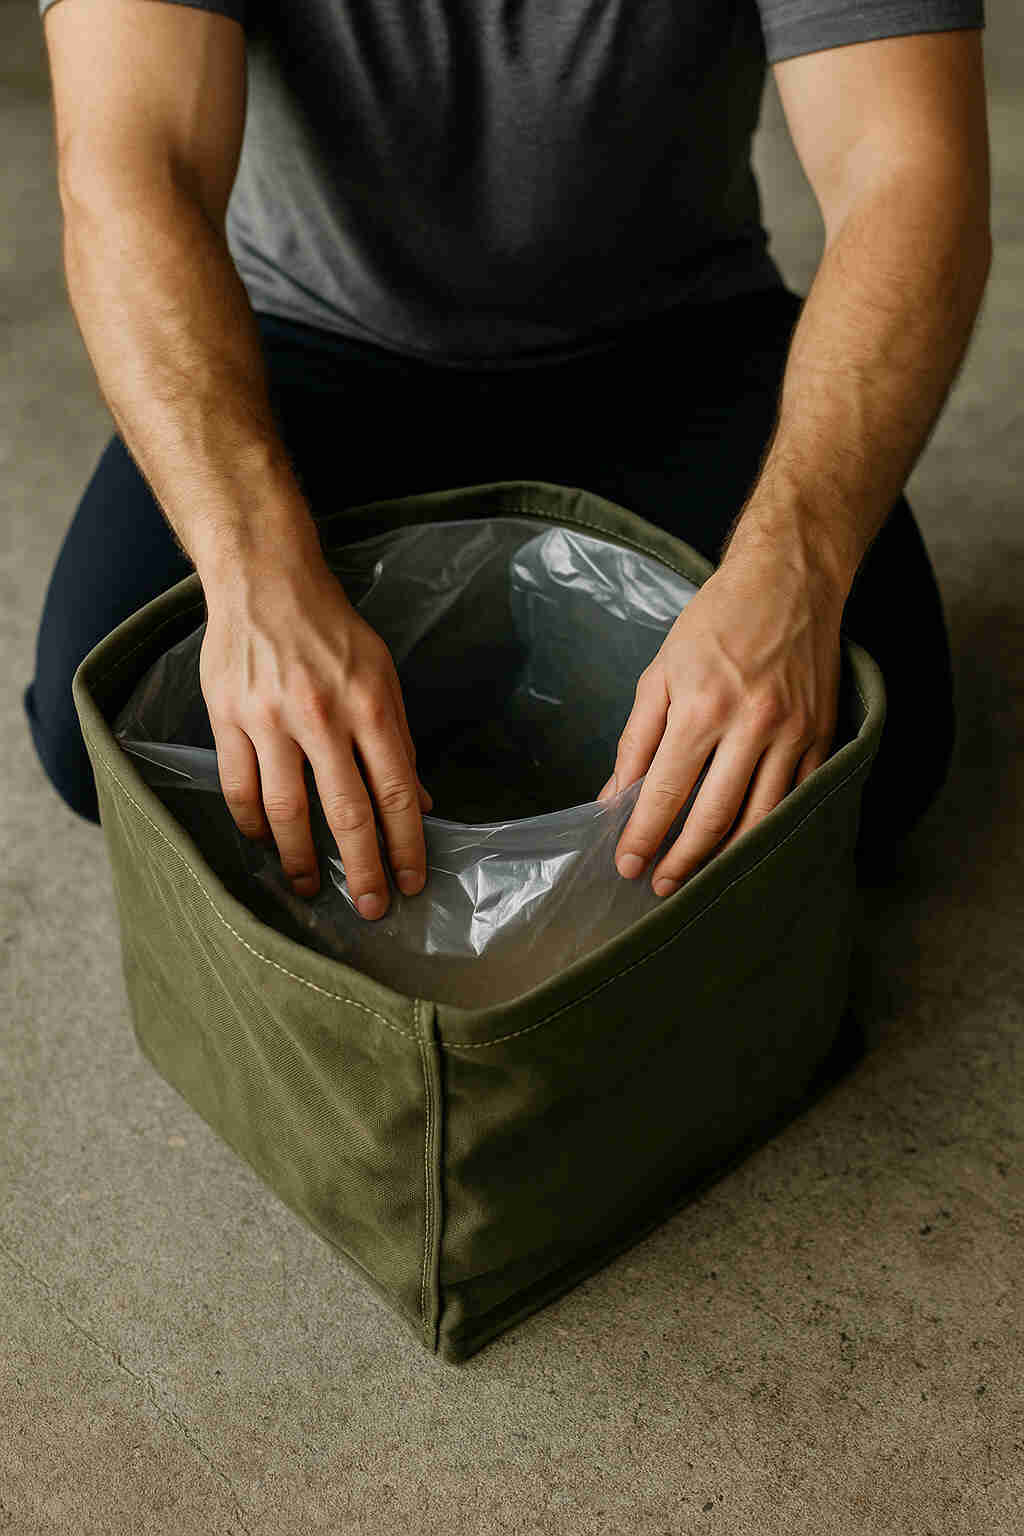
1. Prepare the Inner Liner
Line your canvas shell with a 2 mil (≈ 0.05 mm) plastic liner or contractor bag, ensuring it’s seated flush against all sides. Use a funnel to tuck excess plastic evenly into corners.
💡 Tip: Double-bagging prevents leakage and lets you adjust sand load over time without replacing the outer shell.
2. Fill with Sand in Measured Increments
Scoop in sand in 10 lb increments, using your measuring cup for consistency. After each addition, fold the liner top down and shake to distribute weight evenly. Continue until you reach your target load (e.g., 40 lb–80 lb).
💡 Tip: Start with a lighter load (20–30 lb) and progress in 10 lb steps to master stability before adding more weight.

3. Secure the Lid with Straps
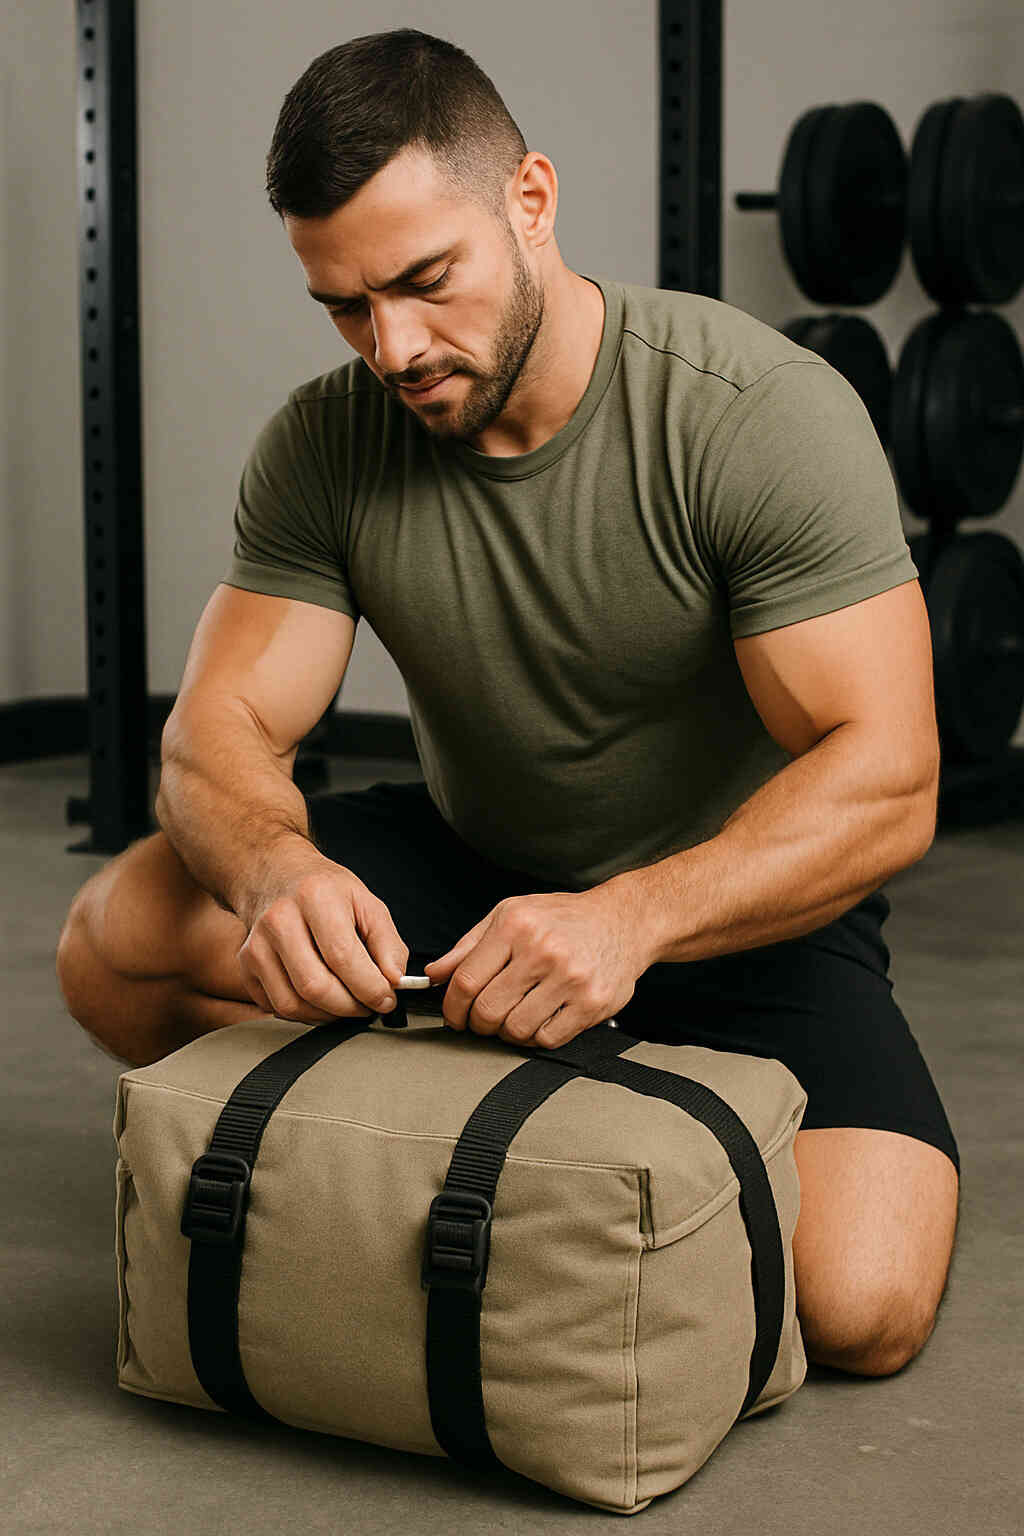
Fold the liner’s excess plastic over itself twice to create a tight seal. Thread industrial Velcro straps or cam-lock buckles around the bag’s neck, cinching firmly so no sand can escape. Tuck any remaining liner inside the shell.
💡 Tip: Position your straps so that you can quickly adjust or remove sand for changing workouts.

4. Finish & Reinforcement
If your outer shell isn’t pre-stitched, use a heavy-duty needle and nylon thread to sew the opening shut around the straps. Reinforce high-stress points with an extra row of stitching or light duct tape on the inside.
💡 Tip: Check seams periodically—sandbags see abrasion. A quick patch now saves a complete rebuild later.
Safety & Troubleshooting
- Leakage: If you spot sand escaping, reseal liner folds and tighten straps.
- Slippage: Add a non-slip sleeve or wrap the bag in exercise tape for better grip.
- Shape Deformation: Rotate the sandbag between exercises to keep sand shifting and prevent dead spots.
How to Use Your New Sandbag
- Sandbag Clean & Press
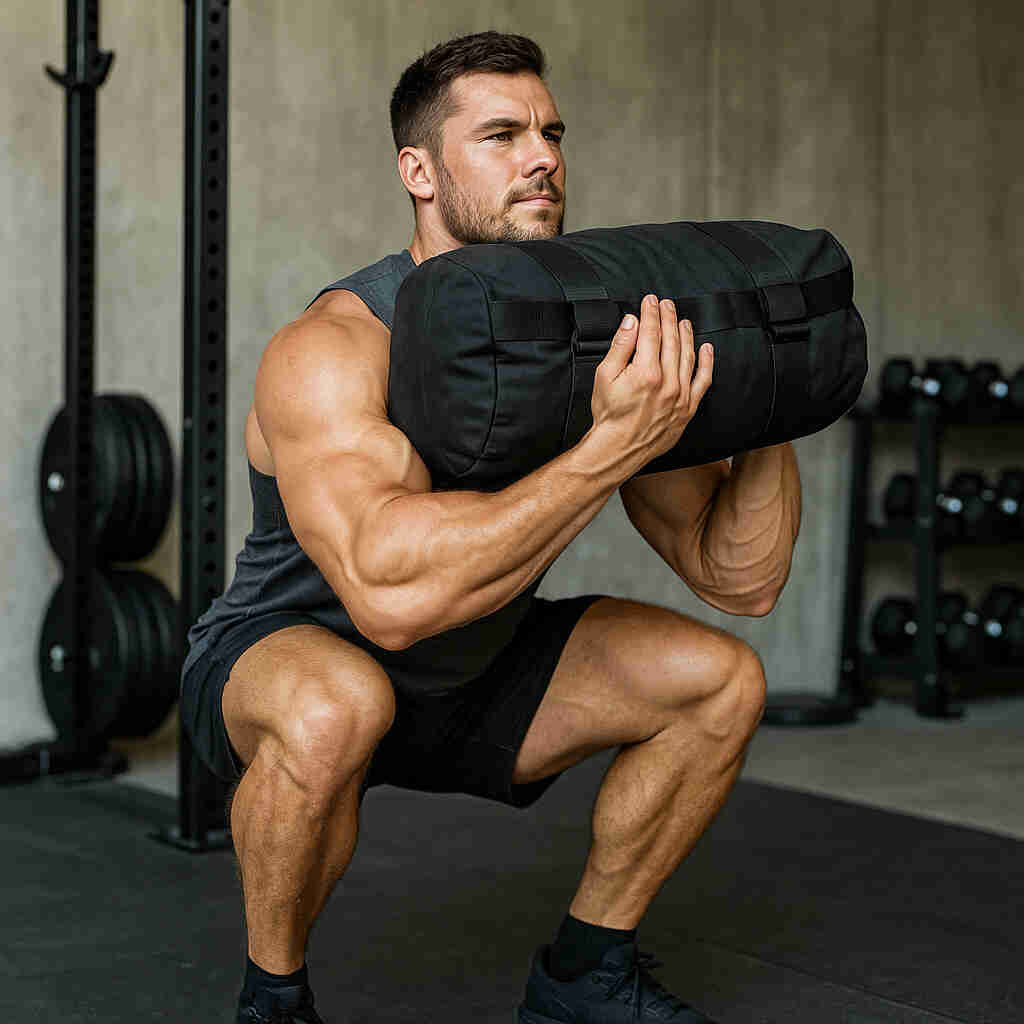
- Front Squats
- Sandbag Deadlifts
- Bear Hug Carries
- Overhead Lunges
Rotate through these to build functional strength, grip, and core stability.
Conclusion & Next Steps
Congratulations—you’ve built a custom sandbag tailored to your strength level and workout space. Experiment with different loads for endurance, power, and hypertrophy circuits. For more DIY gear ideas, browse our DIY Projects section.
Playground sand is acceptable but may contain debris; play sand is cleaner and reduces wear on liners.
Simply undo the straps, remove or add sand in measured increments, then reseal the bag.
A 24″×14″ bag accommodates 40–100 lb of sand while remaining easy to grip.
Avoid dropping onto hard surfaces—use a gym mat or turf to protect both bag and floor.
Check seams and liner integrity before every workout to catch wear early.
