



A sturdy plyo box is a staple for explosive jump training and versatile step-up drills—yet commercial models can cost upwards of $100. With just a few common materials and basic tools, you can assemble your own DIY wooden plyo box in about two hours, saving money while customizing dimensions to suit your space and goals.
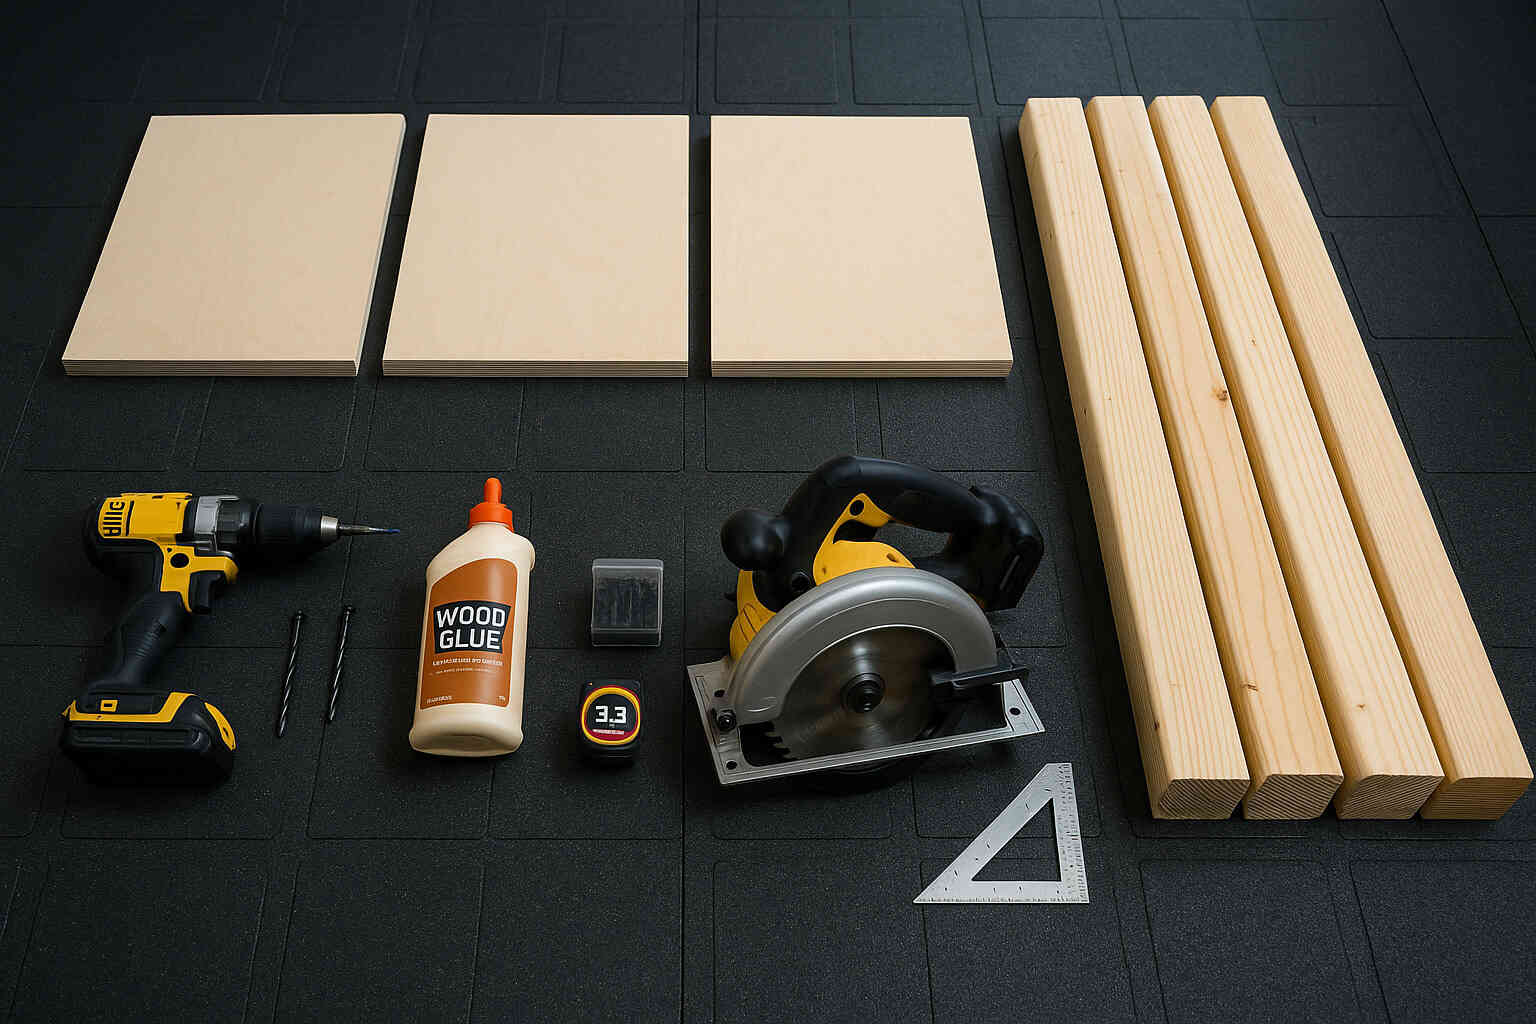
Materials & Tools
Materials
- ¾″ exterior-grade plywood, 24″×24″ cut for top and sides (×4)
- 2×4 lumber, 8′ lengths (×5)
- 1½″ exterior-grade wood screws (×30)
- Wood glue (exterior-grade)
Tools
- Circular saw or miter saw
- Power drill with screwdriver bits
- Tape measure & carpenter’s pencil
- Speed square (for right angles)
- Clamps (optional but helpful)
Step-by-Step Instructions
1. Cut Lumber to Size
Measure and cut your 2×4 boards into four pieces: two at 24″ (front/back) and two at 16″ (sides). Cut two additional 2×4 boards at 24″ for internal support. Then cut four ¾″ plywood panels at 24″×24″ for the top, bottom, and two side braces.
💡 Tip: Mark all cuts clearly and double-check measurements before cutting—accuracy here prevents wobbles later.

2. Assemble the Frame
Arrange the 2×4 pieces into a rectangular frame (24″×16″), pre-drill pocket holes on each joint, and secure with wood glue and 1½″ screws. Add the two internal support boards at 12″ from each end to reinforce the top panel. Use clamps to hold pieces square while you fasten them.
💡 Tip: Drill pilot holes slightly smaller than your screws to prevent the wood from splitting under impact training.

3. Attach the Plywood Panels
Position one 24″×24″ plywood panel on top of the frame. Pre-drill through the plywood into the 2×4 supports, then drive screws every 6″ along each edge. Flip the box over and repeat on the bottom panel. Finally, attach the remaining plywood pieces to the sides for added rigidity and a finished look.

Safety & Troubleshooting
- Uneven Surface: Place the box on a level floor or rubber gym mat to prevent rocking.
- Splinters: Sand all edges and corners smooth; apply a coat of polyurethane for a sealed finish.
- Frame Separation: Add metal L-brackets inside each corner for extra strength if you hear creaks.
How to Use Your New Plyo Box
Here are some of the exercises you can do with your DIY Wooden Plyo Box:

- Box Jumps – Stand facing the box, hinge at the hips, then explosively jump onto the top, landing softly with both feet.
- Step-Ups – Place one foot on the box and drive through the heel to stand up, alternating legs for a unilateral lower-body workout.
- Depth Jumps – Start atop the box, step off, absorb the landing, and immediately explode back up for reactive power training.
- Elevated Push-Ups—With hands on the box edge, perform push-ups with feet on the box to reduce joint stress or increase range of motion.
- Box Dips – Position your hands on the box behind you, extend your legs forward, and lower your body to target triceps and shoulders.
- Bulgarian Split Squats – Rest one foot behind you on the box and perform single-leg squats to build balance and quad strength.
- Lateral Box Shuffles – Face sideways and quickly step on and off the box laterally to improve agility and hip drive.
- Elevated Plank – Place forearms on the box for a plank variation challenging core stability with a higher lever arm.
- Box Mountain Climbers: In a high plank position with hands on the box, drive knees alternately toward your chest for a cardio-core blast.
- Single-Leg Box Hops – Hop onto the box on one leg to develop unilateral power and proprioception.
Feel free to mix and match these movements to create explosive, strength, and conditioning circuits that make the most of your custom plyo box!
Conclusion & Next Steps
Congratulations! You now have a custom wooden plyo box tailored to your training needs. To challenge your power and stability, experiment with box jumps, lateral step-ups, regular step-ups, and elevated push-ups. To vary your workouts, stack blocks or add non-slip surface tape for extra grip.
Ready for more? Check out our DIY Projects for guides on homemade sandbags, parallette bars, and high-protein snack recipes to complement your training.
FAQ
Beginners often start at 12″; intermediate athletes use 18″; advanced trainees may go up to 24″—choose a height that challenges but remains safe for you.
Thicker plywood resists flex and impact better. If you must use ½″, reinforce with extra internal supports and metal brackets.
Apply non-slip tape or rubber feet to the bottom edges to increase friction against smooth floors.
If you plan to use it outdoors, seal all surfaces with exterior-grade paint or polyurethane and store it dry when not in use.
Yes—after sanding, apply primer and exterior paint or stain for a professional finish that withstands sweat and cleaning.
